Integrating Audio in ReactJS
3 min readMar 8, 2021
How to Play an MP3 on the Click of a Button
- Create a new directory by opening a code editor and entering this command in your CLI:
mkdir directory-name-here- cd into your newly created directory by entering this command in your CLI:
cd directory-name-here- Create a new ReactJS application by entering this command in your CLI:
npx create-react-app app-name-here- cd into your newly-created application by entering this command in your CLI:
cd app-name-here- Get your application running in your browser by entering this command in your CLI:
npm start- Install howler.js by entering the command below in your CLI. Howler.js is an audio library that makes working with audio in JavaScript easy and reliable.
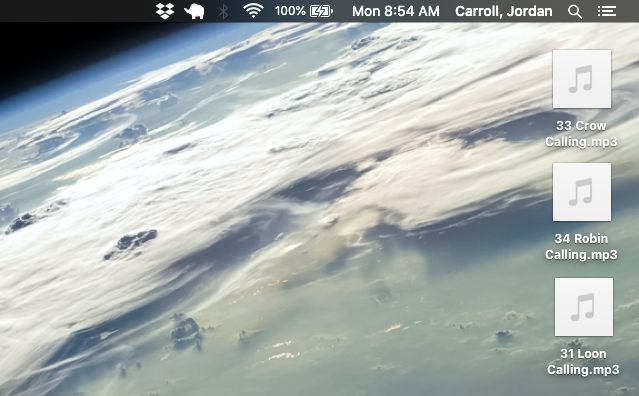
npm install howler --save- Download as many MP3’s as you would like for your project then save them to your Desktop.

- In the app.js file of your project, delete all of the code within the default <header> tag.

- Change function App() to class App extends Component, add a render, and add an import React line with a Component extension.

- Create a new directory within your existing src directory and call it whatever you’d like. Some possibilities include audio-clips, audio-files, or just audio.

- Rename your audio clips if you’d like to make them easier to import. A good naming convention is name.mp3.
- Import your audio files into your App.js file using the code in lines three through five below.

- Create an array that contains all of your audio files and assign the array to a constant. Each audio file in the array will have a sound attribute and a label attribute.

- Import howler.js into your App.js file.

- Add the following code into class App extends Component to integrate Howler functionality into your app.

- Create a function to render your buttons then invoke the function.

